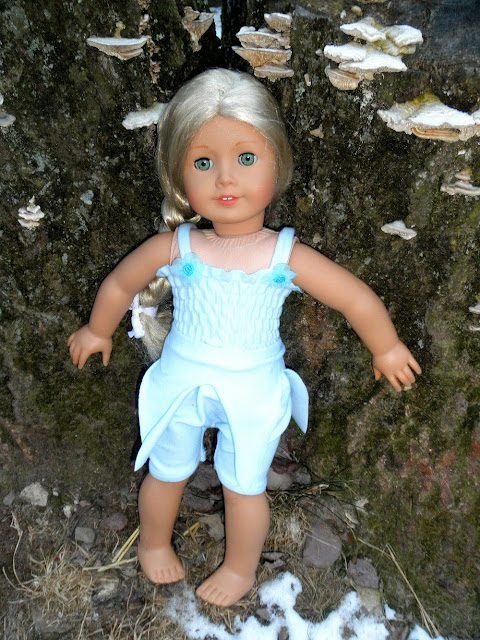
There are plenty of patterns available on the market for doll clothing. One source is Liberty Jane. While they offer a huge selection, sometimes they don't have exactly what I am envisioning. Besides when you want to make a matching outfit for a girl and doll it is much easier to start with a bigger pattern and downsize it than it is to start with a doll pattern and adjust it to your child's size.
For those reasons I have been working on making doll clothes from children's patterns and tutorials. I just finished up this fairy costume for a photo contest. It was made using a tutorial for a toddler romper and fairy skirt.
I started by using this tutorial from the Little Pink Monster blog. I made the following changes to fit our doll.
- I used a 9 inch by 16 inch rectangle of knit fabric with a 40% stretch. Because I used fabric instead of a t-shirt I had to hem the bottom myself just before sewing up the back seam.
- I sewed 7 lines 1/2 inch apart with elastic thread to create the smocking.
- I didn't notice any additional shrinking after the first time I sprayed it and went over it with an iron. If your trying to save time, once may be enough.
- For the straps I sewed a 1 inch wide tube of fabric and turned it, then I hand sewed them in place while the outfit was on the doll to be sure they were placed properly. I matched the stitching to the smocking lines in the back and covered the stitching with flowers from my stash in the front.
- For the skirt I cut a 16 by 7 inch rectangle and then created an elastic casing and inserted an 11 1/4 inch strip of elastic. I did not permanently attach it, so that it could be used with other doll clothes.
- I cut the petals very carefully while the doll was wearing the skirt.


